This paper introduces a low-cost uniaxial cell stretcher designed to apply controlled mechanical stretch to cell cultures on flexible substrates. This device enables simultaneous stretching of up to six samples, making it ideal for comparative studies in cell mechanobiology. Built using components from an Anet A8 3D printer, this accessible tool facilitates research into how mechanical forces affect cellular behavior.
Key Features
- Cost-Effective: The total hardware cost is approximately €375, making it affordable for many research labs.
- Parallel Processing: Capable of stretching up to six samples at once, allowing for comprehensive biological studies.
- Open Source: Fully customizable design with open-source software control using Python and GCode.
- User-Friendly Design: The stretcher can be operated easily using a graphical user interface (GUI).
- Robust Construction: Designed to withstand the conditions of a laboratory incubator with high humidity.
Specifications
| Specification | Details |
|---|---|
| Device Name | Six-Well Cell Stretcher |
| Cost | ~ €375 |
| Dimensions | 47 cm x 42 cm x 11 cm |
| Weight | Lightweight due to 3D printed and acrylic components |
| Operating Conditions | 37 °C, 95% relative humidity |
| Control Software | Python-based GUI (pyStretch) |
| Open Source License | CC-BY 4.0 |
| Source File Repository | Design Files |
Build Instructions
- 3D Print Components: Use provided STL files to print the necessary parts for the stretcher.
- Assemble Electronics: Integrate the motors and control unit, including a Raspberry Pi and necessary wiring.
- Set Up Molds: Create molds for the PDMS substrates using acrylic sheets.
- Calibration: Ensure the device is calibrated for accurate stretching before use.
Operation Instructions
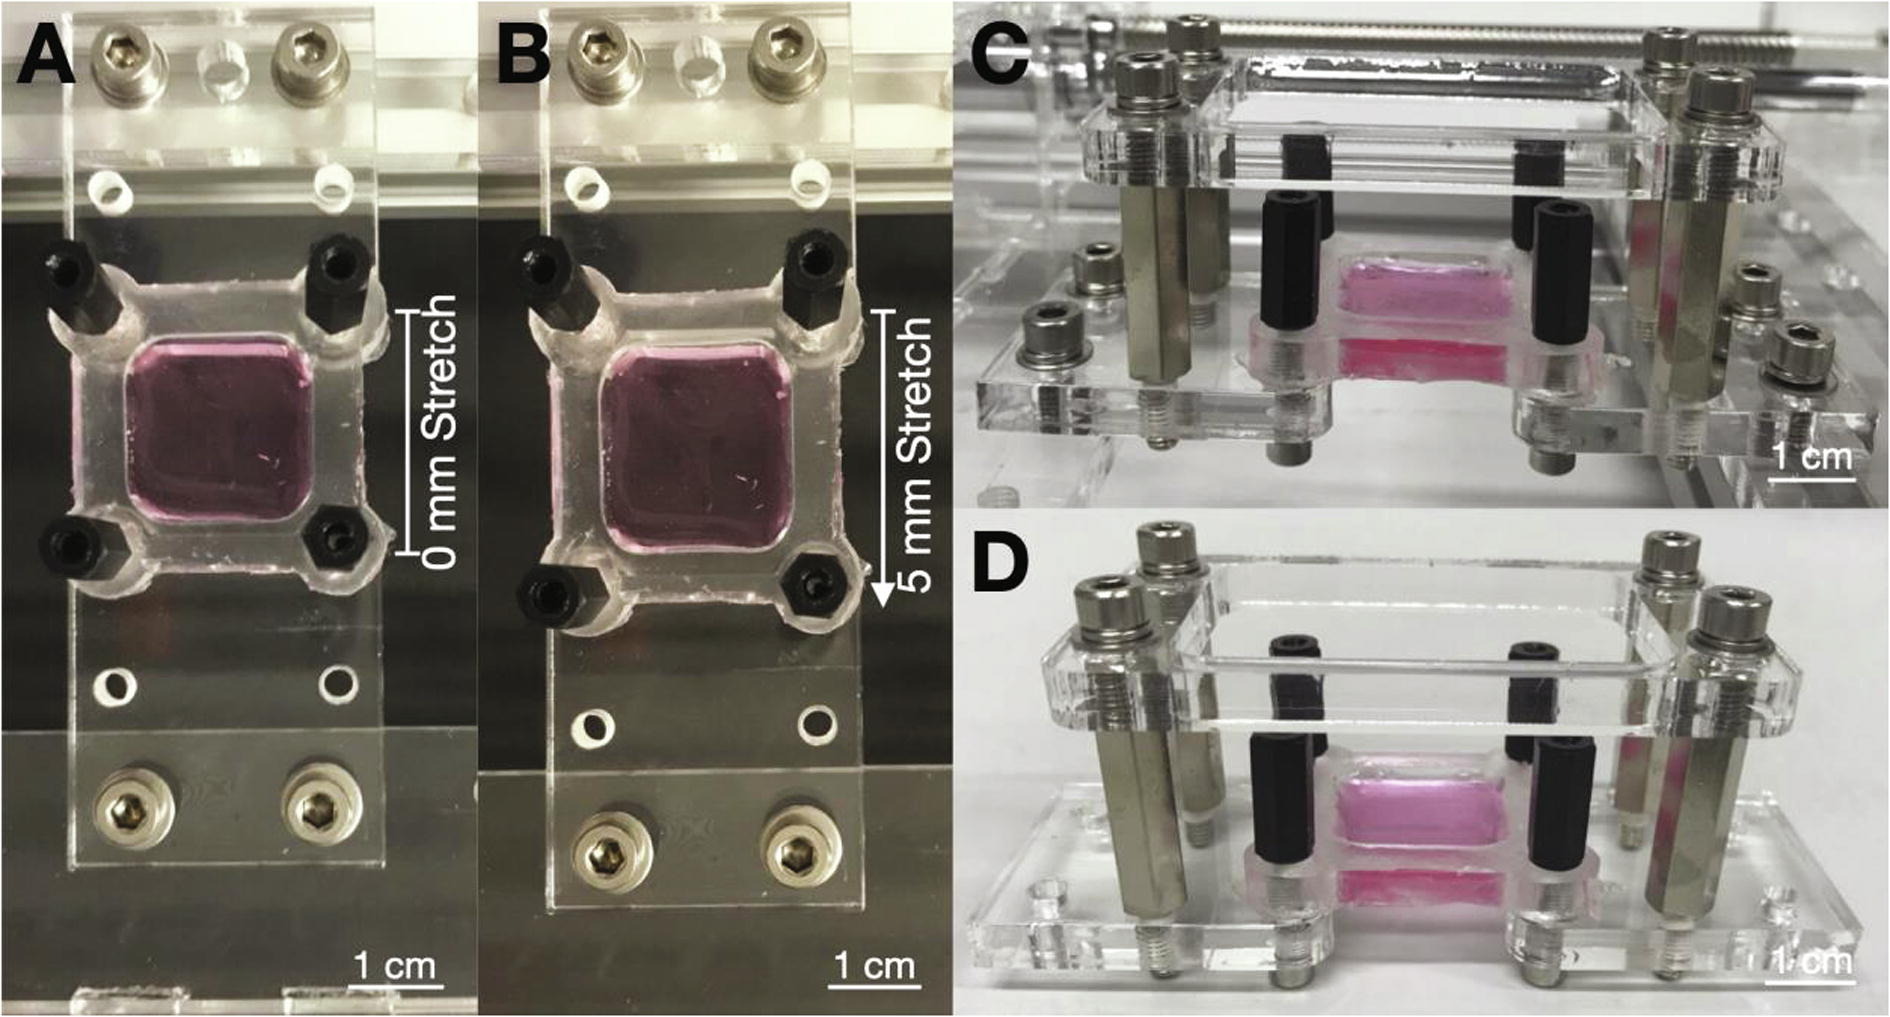
- Prepare PDMS Substrates: Fabricate and functionalize the PDMS substrates before placing them on the stretcher.
- Connect Substrates: Attach the prepared substrates to the stretcher using provided hooks or clamps.
- Set Stretch Parameters: Use the GUI to configure stretching parameters such as amplitude and frequency.
- Initiate Stretching: Start the stretching cycle and monitor the cellular response through imaging or other assays.
Validation
The device was validated by studying the activation of the Yes-associated protein (YAP) in response to mechanical stretch, demonstrating its capability for serious biological investigations.
The low-cost uniaxial cell stretcher offers a significant advancement for researchers studying mechanotransduction in cells. Its ability to perform parallel stretching experiments and its open-source nature make it a valuable resource for biophysics and biomedical engineering applications.
